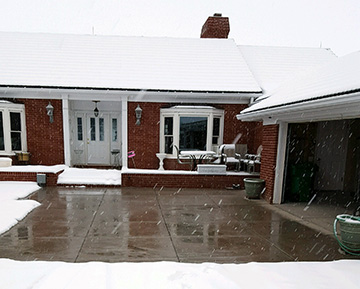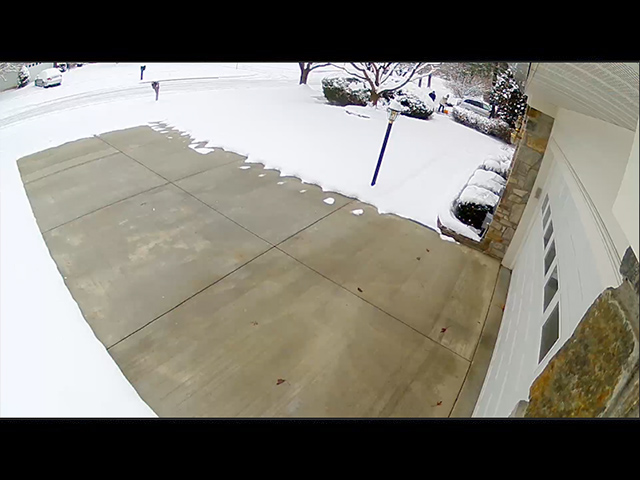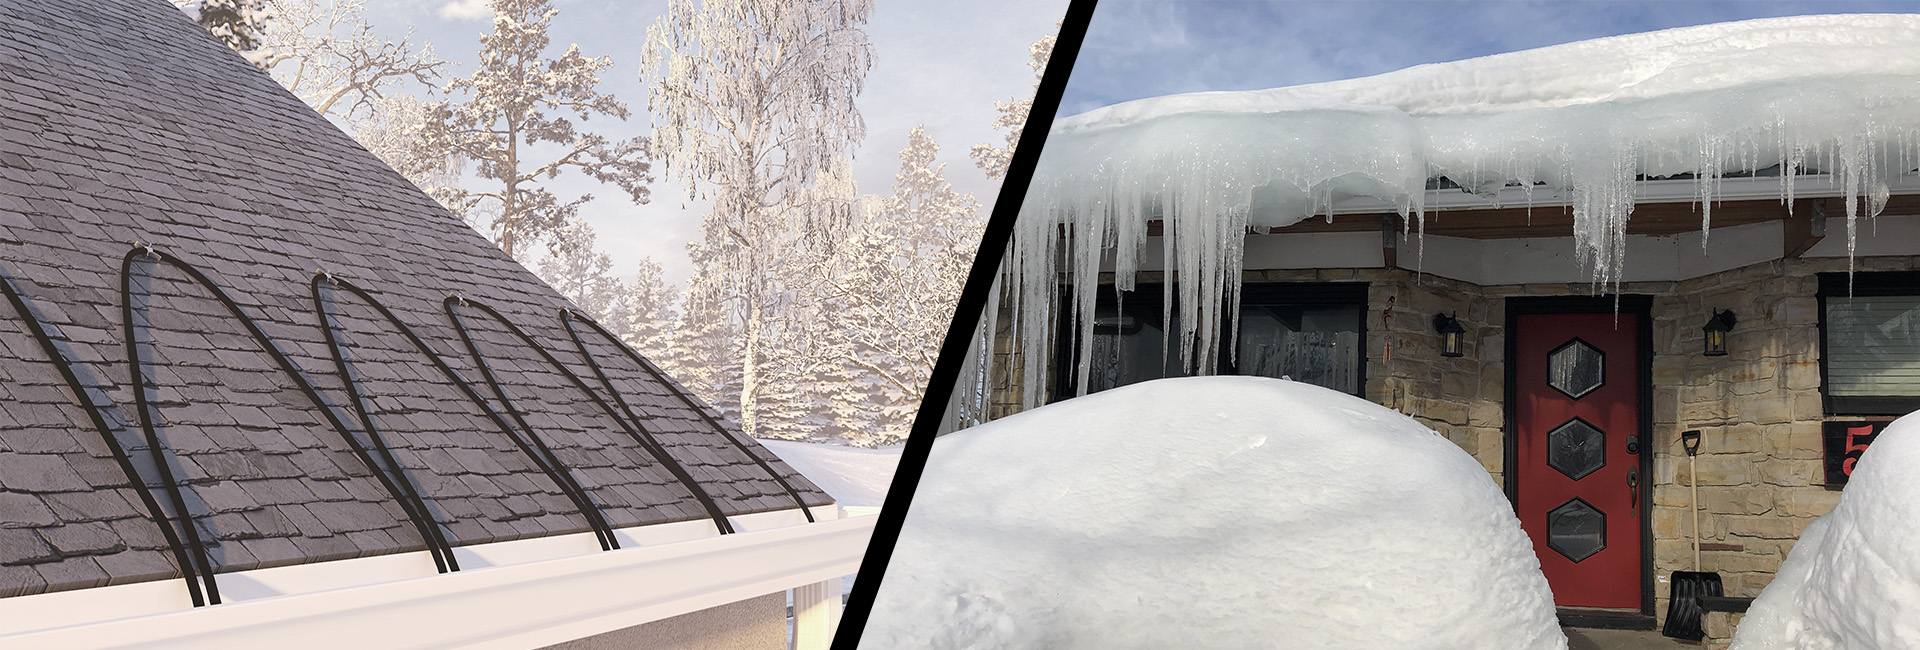
Roof De-icing – A Smart Investment in Your Home
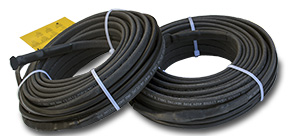
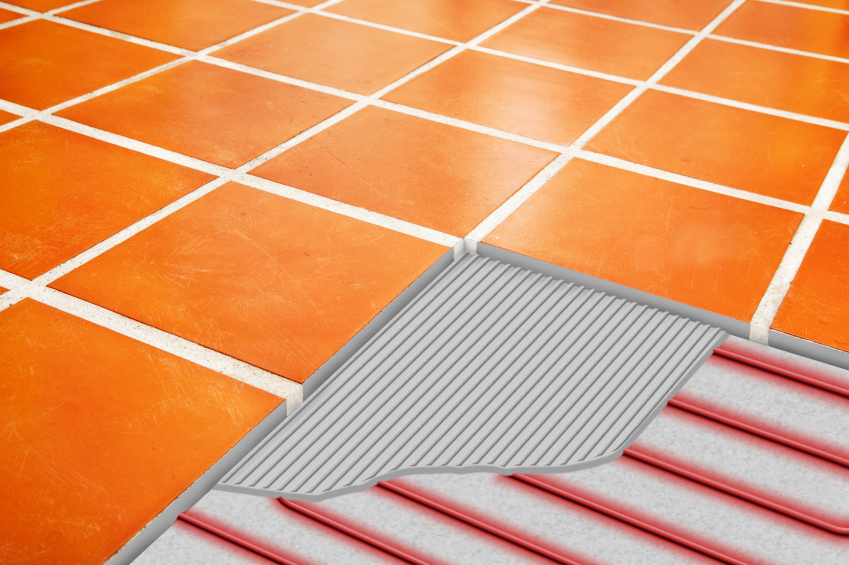
Protect your home from snow, ice, and water damage with self-regulating roof heating cables, mats, and panels. Prevent ice dams, reduce energy costs, and extend roof life. Efficient de-icing safeguards gutters, attic, and structure—keeping your roof safe, durable, and worry-free…
Read post