Roof De-icing Options
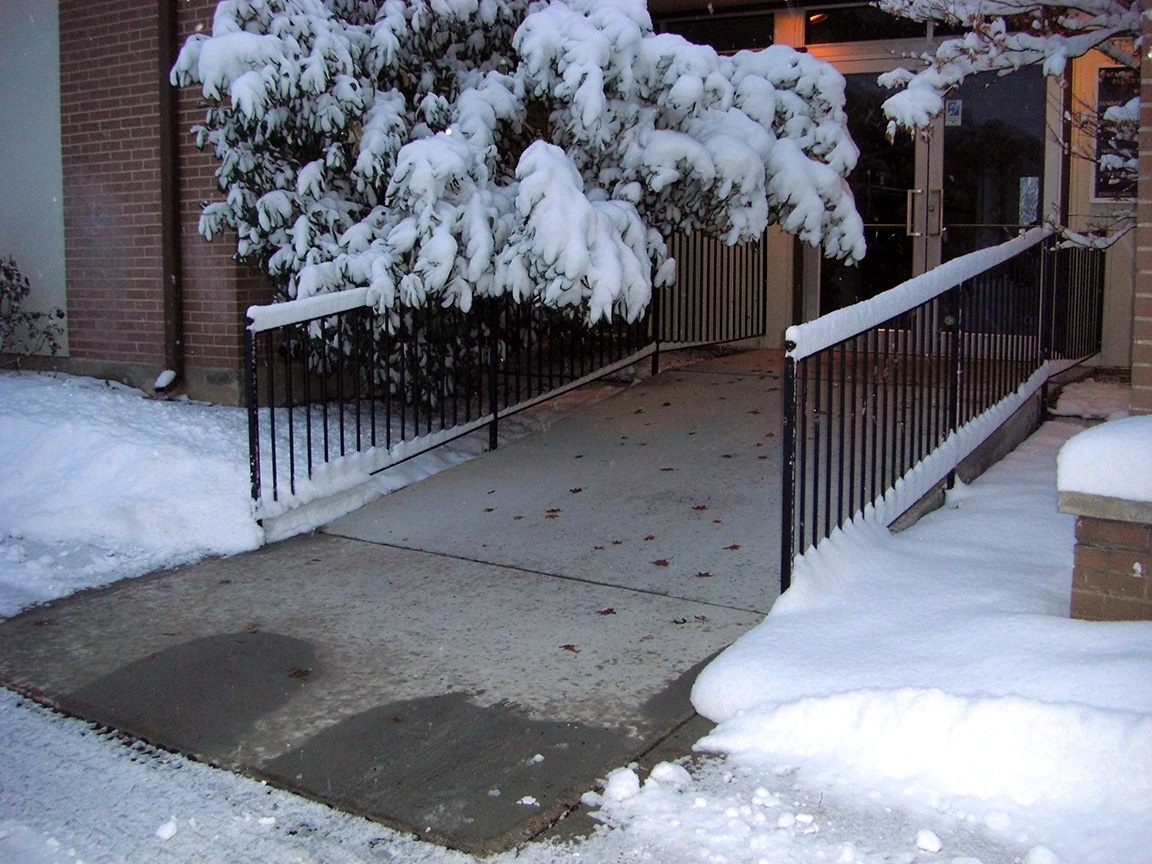
Radiant heat is a great solution for many areas inside or outside your home. From floors to driveways, almost any area in your home can be heated with radiant heat. One great and often overlooked spot to install radiant heating is your roof. Inspecting your roof and installing a roof de-icing system during the warmer months is a great way to ensure your home or business is prepared for the cold winter ahead. With Warmzone, top-of-the-line roof heating systems make dealing with winter hazards like snow, ice dams, or icicles hassle a whole lot easier. Warmzone offers a variety of versatile roof de-icing systems that can fit the needs of any home or business owner and keep property safe from costly water damage during the winter.
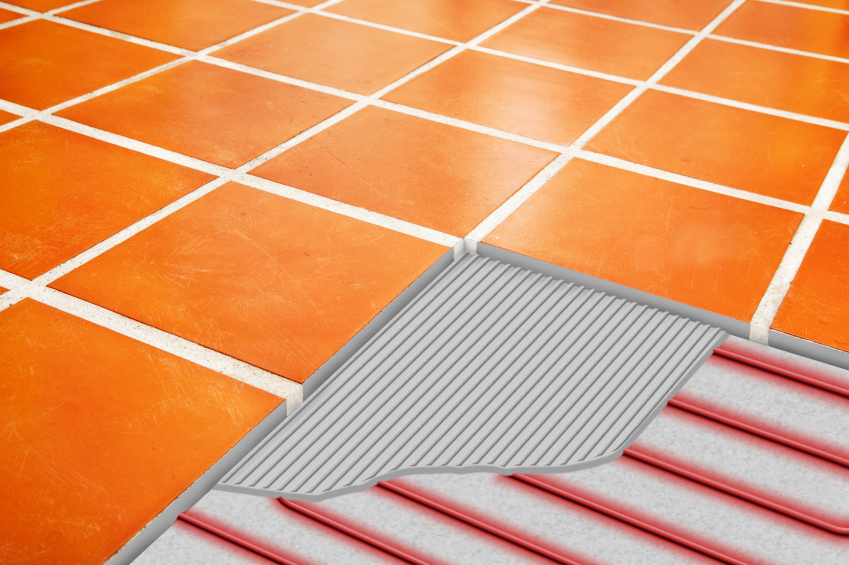
Radiant heating systems work using three components: a heating element, an activation device, and a contactor panel / power source. The heating element is installed on your roof, valleys or gutters, or in specific areas where de-icing is needed. Once the heating element is installed, the activation device triggers the system to send power to the elements. The activation device is designed to detect specific weather conditions and then signal the contactor panel to send power to the heating element. The system then safely and efficiently keeps your roof clear of hazardous snow and ice.
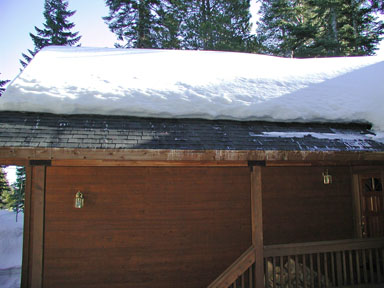
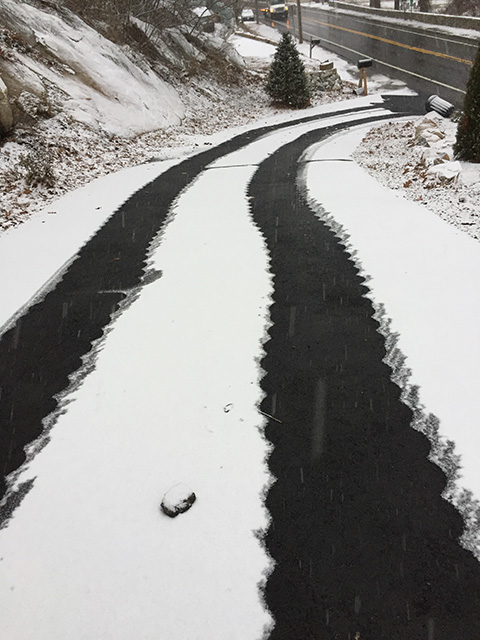
Depending on the needs of the area to be heated, de-icing systems can be installed in a number of places. If you are looking to install radiant heat in gutters and downspouts, Warmzone’s self-regulating heat cable is an affordable, efficient solution for roof de-icing. (Constant wattage and pre-terminated self-regulating cable is also available.) Self-regulating heat cable automatically adjusts to temperature changes, increasing or decreasing its heat output, making it extra efficient, safe, and maintenance free. Warmzone’s self-regulating heat cable features a UV stabilized flexible thermoplastic elastomer over-jacket that protects its core making it extremely durable for wet locations, and protecting it from sun damage. This cable can be installed in gutters, downspouts or even zigzagged along the roof eaves to provide channels for the runoff (and prevent ice dams). Installing cable in these particular areas helps prevent icicles and hazardous ice dams from forming, protecting your home and roof from water damage that often results from ridges of ice that form along the roof eaves. Water can pool behind the ice and seep into tiny cracks in the roof or shingles. Warmzone’s versatile self-regulating cable can also be used for pipe tracing applications to prevent pipes from freezing.
Warmzone’s industry leading self-regulated heating cable is also used in attractive roof heating panels. These aluminum panels feature pre-engineered channels where self-regulating heat cable is routed, resulting in maximum heat transfer. These panels are engineered to be extremely energy efficient as well as an attractive addition to your roof. The aluminum panels are coated with a durable finish that adds to the aesthetic value of your home, and are available in a wide variety of colors to match your existing roof. Warmzone’s RoofHeat panels are extremely versatile and are also a great option to heat the valleys of your roof. These panels are effective at controlling ice buildup and dams with just a 4-6 inch heating panel that will clear both sides of the valley between 6-10 inches. This method of roof heating allows runoff to safely flow down the valley and assures that no water is refreezing on any other part of your roof. These premium quality panels offer an aesthetically pleasing option that is both highly efficient and affordable.
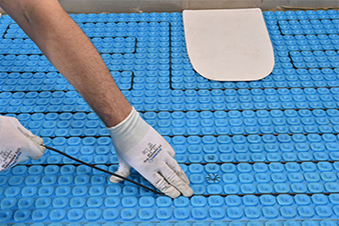
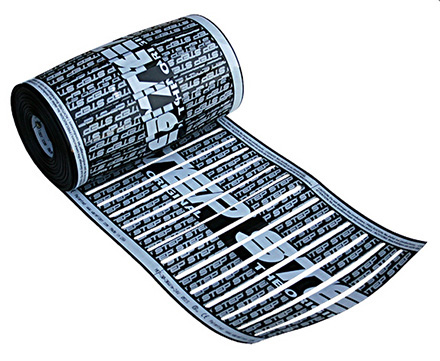
Another great roof de-icing option is Warmzone’s low-voltage RoofHeat STEP system. This innovative system features a thin polymer heating element that can be installed under metal or shingle roofs. It is easy to install and versatile, as it can be cut, stapled or nailed through during installation. RoofHeat STEP is also a self regulating system, so you can be sure that the system will efficiently keep your roof clear of snow and ice in any cold weather condition. This system can be installed to heat roof eaves, valleys, or even the entire roof. Each transformer controls a specific section of the roof de-icing system. This allows for the system to step down high voltage to low voltage (less than 60V ) when necessary, providing safe and efficient heat to clear your roof. The low-voltage system is one of the most effective and highly recommended roof de-icing systems on the market.
Because Warmzone’s roof de-icing systems are so versatile, they can be used separately or combined. This is helpful to meet the specific needs of each roof. If there is a tricky area, or an especially problematic spot Warmzone professional system designers can create a roof de-icing system to meet your exact specifications and snow melting needs.
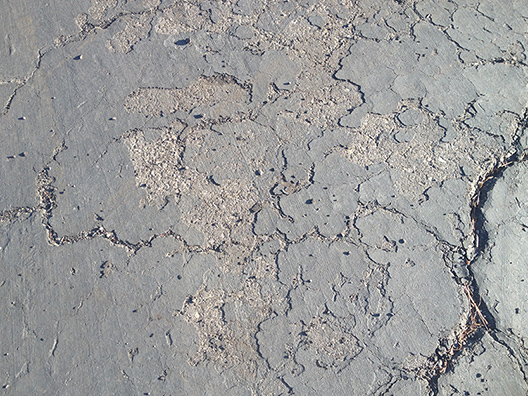
Purchasing a roof de-icing system is a smart way to protect one of the most important aspects of your home – the roof. Damage to a roof can lead to costly water damage in the home, which can even lead to serious health problems if mold develops in the home. Ice dams are the number one problem when it comes to water or costly roof damage. As snow melts on the roof, it can reach the ridge of ice along the eaves where it pools. This pooled water can seep into tiny cracks and refreeze in every nook and cranny of your roof, expanding and eventually causing damage and threatening the integrity of your roof. If water seeps inside walls, it may not be discovered for a considerable time, whereby it can eventually cause mold and mildew inside the home – which is every homeowner’s nightmare.
A quality roof heating system is an investment that can pay off every winter, preventing damage and eliminating stress. Installing one now during the summer months is easier, and will assure your winter is safe and hassle free. If you’d like to learn more about the many roof de-icing options that are available, please contact a roof heating expert today at 888.488.9276.